This blog is about my experience in building a Pond which has had it's challenges. I started building this pond about 5 years ago and really haven't too much time on it in the last few years due to time and finances and other priorities. This year I was determined to try at least get the pond pumping water from the bottom pond (~ 600 Gallons), to the top pond (~200 Gallons).
One of the most challenging parts was to finding the final concrete sealer. The internet is plagued with a product called Pond Armor. This product may do the job, but expect to pay $300 - $600 for cover a 100 ft pond. There is a little or no material on the product and marketed everywhere. Take a look at the gardenweb forums for some reviews.
I started with Pond Armor (quart) and found it only covered 40% what it claimed to cover. I eventually had to use a grinder to remove it, not a pleasant job. I then decided and read a lot about a product called Thoroseal with Acryl-60 which is what I have used in the below images.
Things used for the sealing of the pond
2 x Bags Gray Thoroseal ($32 per bag from Ace Hardware, Blaine)
1 x 1 Gallon Thoro Acryl-60 ($25 from Ace Hardware, Blaine)
1 x Masonry Brush ($5)
For reference, I will report back how the Thoroseal Performs in the short future and long term
First coat of Thoroseal applied 9th Oct 2010
Second coat of Thoroseal Applied 16th Oct 2010
Water added into Pond 23rd Oct 2010
 |
| Building site for the pond |
 |
| Pond without Thoroseal yet |
 |
| Pond with first layer of concrete and no rebar, rebar to be added with 2nd layer of concrete |
 |
| Adding rebar and another layer of concrete. I used both 4000 PSI for the bottom concrete and 6000 PSI for the top. |
 |
| Removing the Pond Armor product after the disappointing coverage. |
 |
| First Batch of Thoroseal and Acryl-60 |
 |
Thoroseal Mixed, waiting 30 mins to set
|
 |
| Thoroseal mixed, above is the texture after waiting 30 mins for it to set |
 |
| Masonry Brush that will be used to apply the Thoroseal |
 |
| I used the contained on the right and filled it up 3/4 for each bag of Thoroseal or 1/2 Gallon of Acryl-60 per Bag |
 |
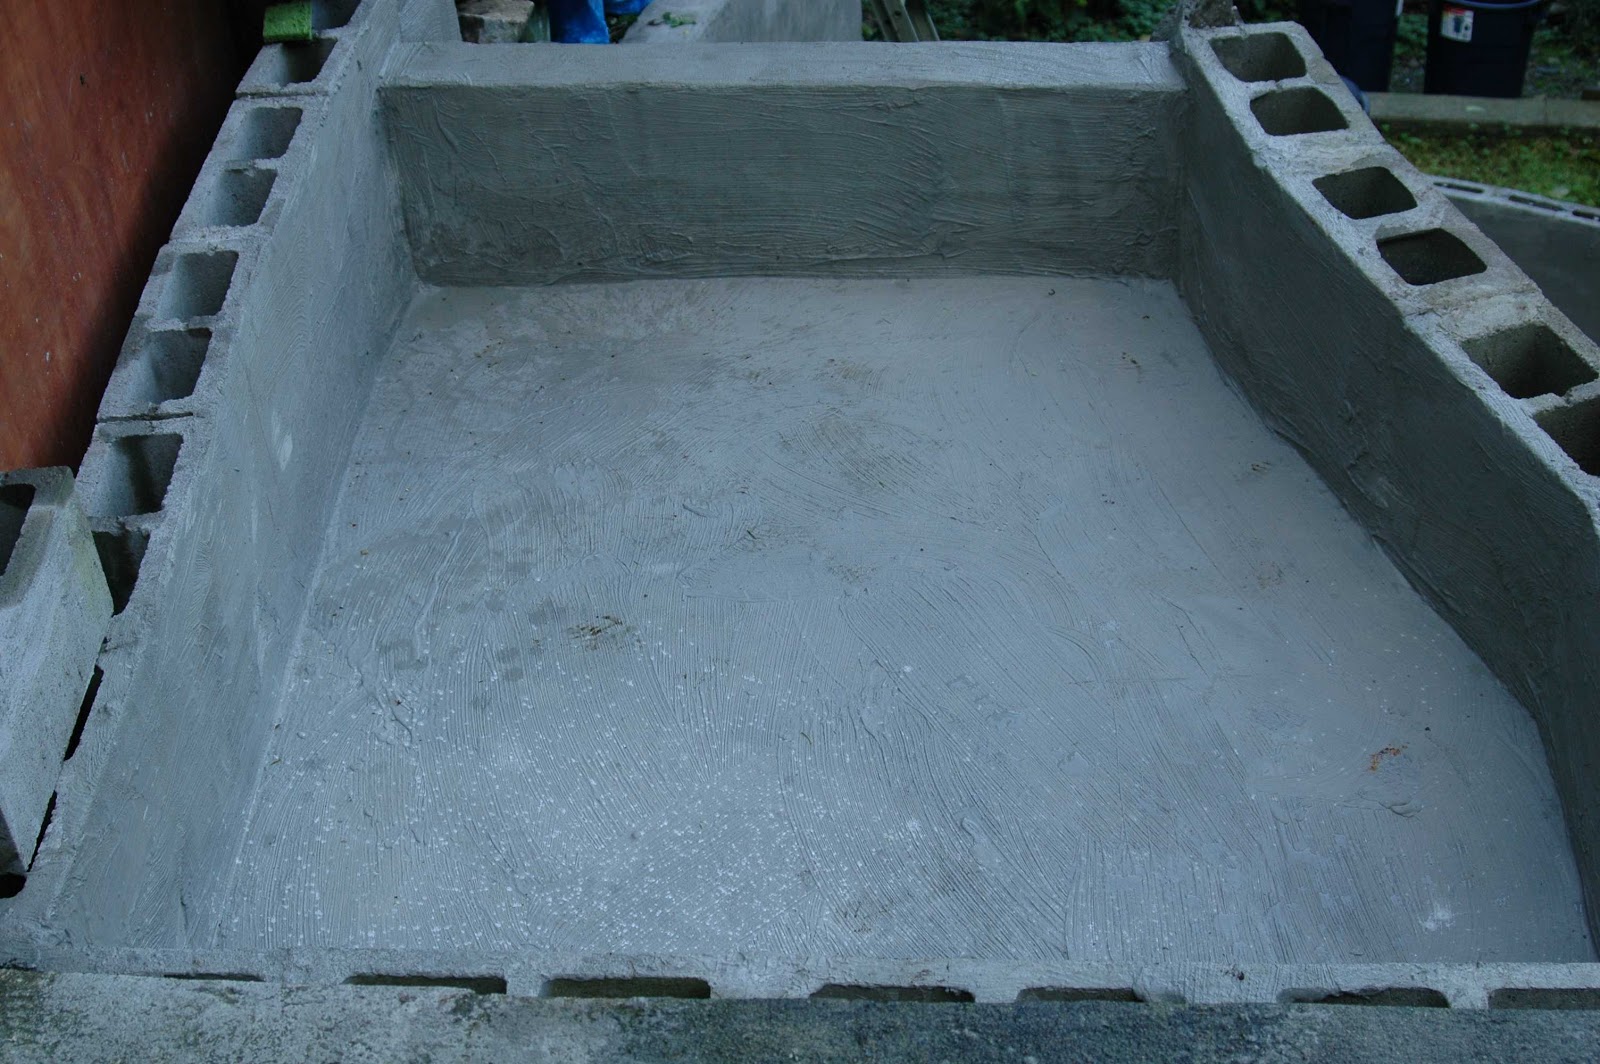
| Bottom Pond prior to Thoroseal |
 |
| Waterfall prior to Thoroseal with a layer of concrete |
 |
| All the rain we recently had in one week, enough to fill the top pond ~200 gallons |
 |
| Nature just waiting for the pond to be ready and getting impatient |
 |
| Second Layer of Thoroseal Gray |
 |
| Finally water added to Top Pond |
 |
| Water in Top pond |
 |
| Water added to Bottom Pond |
 |
| Rebar added to the wall and concrete to strengthen the wall. Mortar would not be strong enough. |
 |
| Rebar in the outer wall |
 |
| Pump turned on and running 50' of flexy tube |
 |
| Water fall flowing |
 |
| Waterfall |
 |
| Water exiting in top pond |
 |
| 2" Flexy Pipe from bottom pond |


